




Estampasso logo β€” elegant navy E with gold ink splash, Since 1990, Express Create Transform

Household Iron Application Instructions

Turn YourImaginationInto SomethingReal

You Create the Art. We Transform It.

Before You Begin

Use a clean, dry household iron

Turn OFF the steam function and empty any water

Set iron to Cotton/Polyester (Setting 4) or highest recommended setting

Place item on a firm, heat-resistant surface

Smooth the material to remove wrinkles

For best results, use white or light-colored fabrics unless otherwise specified.

πŸ‘¨β€πŸ‘©β€πŸ‘§β€πŸ‘¦

Adult Supervision Required

Children are welcome to color and create β€” but the heat application step must always be performed by a responsible adult.

Start Here

Create Something Only You Can Make

CREATE illustration
1

CREATE

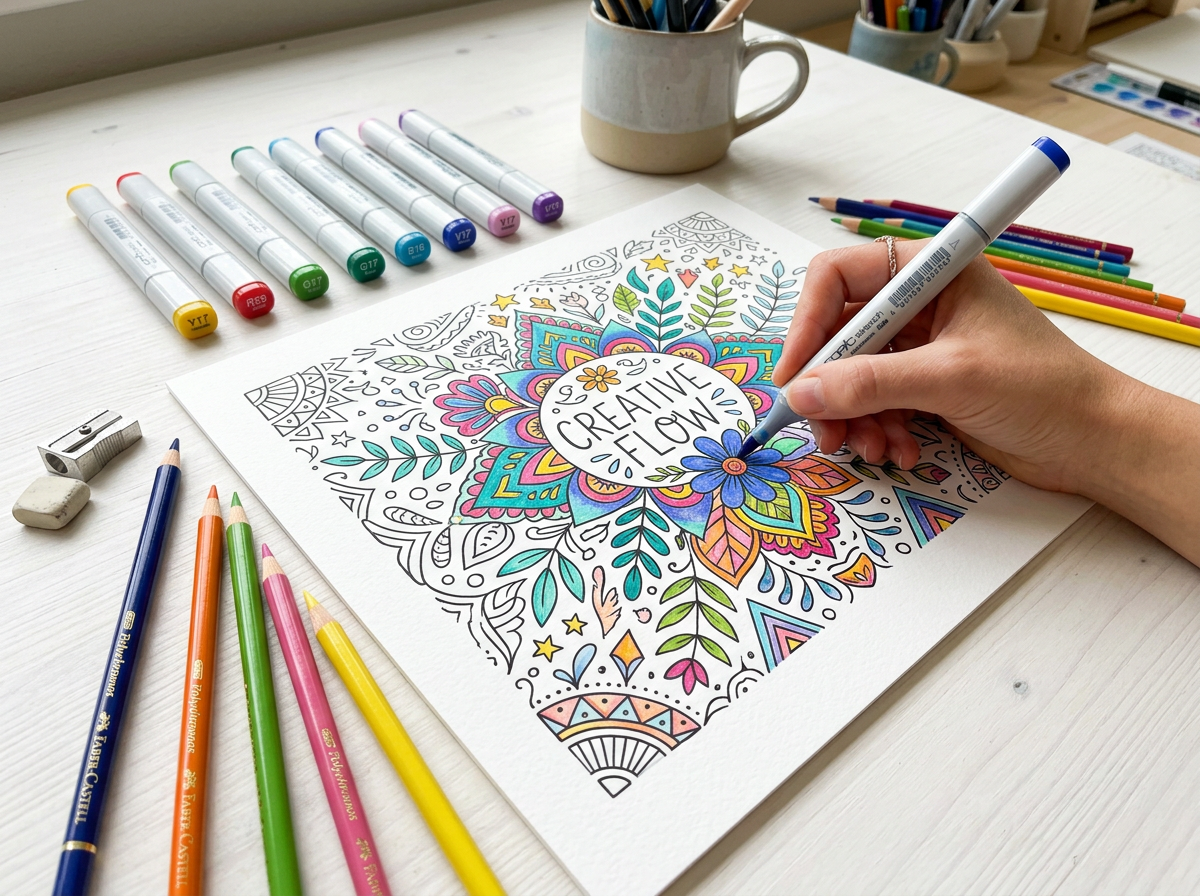
Color the Estampasso transfer sheet using crayons, colored pencils, or markers. You may also create your own original artwork. Allow the artwork to dry completely before applying heat.

POSITION illustration
2

POSITION

Place the transfer sheet onto the item with the colored artwork facing DOWN against the surface.

Before ironing, make sure the transfer is:

Centered
Lying completely flat
Positioned in the correct direction
Free of wrinkles or folded edges
APPLY HEAT illustration
3

APPLY HEAT

Press the iron firmly over the transfer using slow, even pressure. Move the iron gradually across the entire design β€” every section, edge, and corner must receive heat.

Success Tip

Household irons heat only a portion of the transfer at a time. Do not focus only on the center. Move the iron slowly with overlapping passes until the entire image β€” including all edges β€” has been heated evenly. Apply heat for approximately 6–8 seconds while ensuring full coverage.

WAIT illustration
4

WAIT

Lift the iron and place it safely in the upright position. Allow the transfer to rest for approximately 4 seconds before peeling.

THE MAGIC REVEALβ„’ illustration
5

THE MAGIC REVEALβ„’

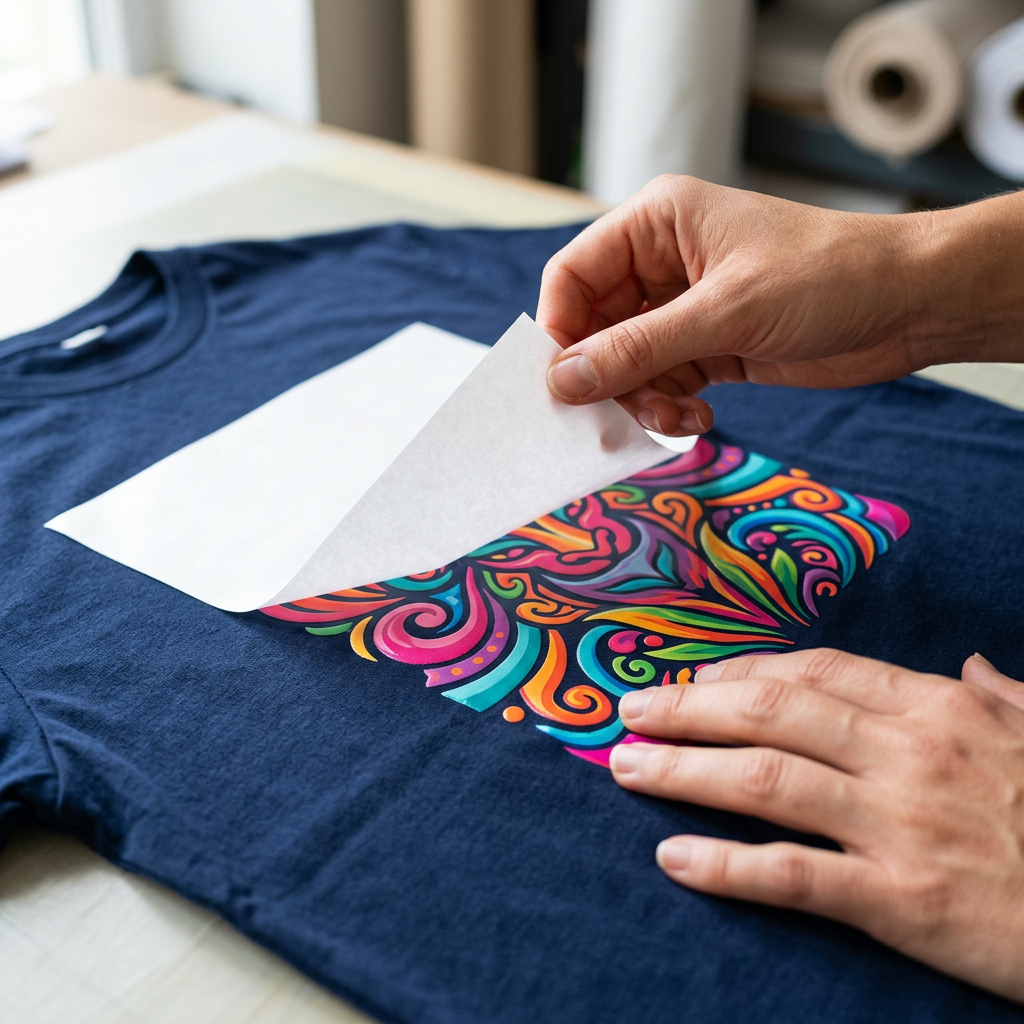
Carefully peel the transfer paper away in one smooth motion to reveal your artwork.

πŸ”„

If Needed

If any portion of the design remains on the transfer paper β€” carefully reposition the transfer exactly where it was. Reapply heat to the affected area for 2–3 additional seconds, wait a few seconds, and peel again.

Tips & Mistakes to Avoid

Success Tips

Apply firm, even pressure
Cover the entire design, including all edges
Wait a few seconds before peeling
Peel slowly and evenly

Common Mistakes to Avoid

Heating only the center of the design
Forgetting the edges or corners
Using the steam setting
Applying the transfer on unstable or heat-absorbing surfaces
Peeling the paper too quickly

Hot Surface β€” Adult Use Only

The iron, transfer paper, and recently pressed materials become extremely hot and may cause burns.

β€’The heat application step must always be performed by a responsible adult.
β€’Children must never operate or touch a household iron or heat press.
β€’Never leave a heated iron unattended.
β€’Keep hot equipment away from children, water, loose clothing, hair, and flammable materials.
β€’Allow the transfer and project to cool before handling.

Application Surface Precautions

For best results, do NOT apply Estampasso transfers on:

Uncovered ironing boards
Glass surfaces
Granite or stone countertops
Concrete surfaces
Heat-sensitive materials
Surfaces that quickly absorb or dissipate heat

Always use a firm, heat-resistant work surface that provides consistent support and heat retention.

πŸŽ‰

Congratulations!

You're now an Official Estampasso Creator.

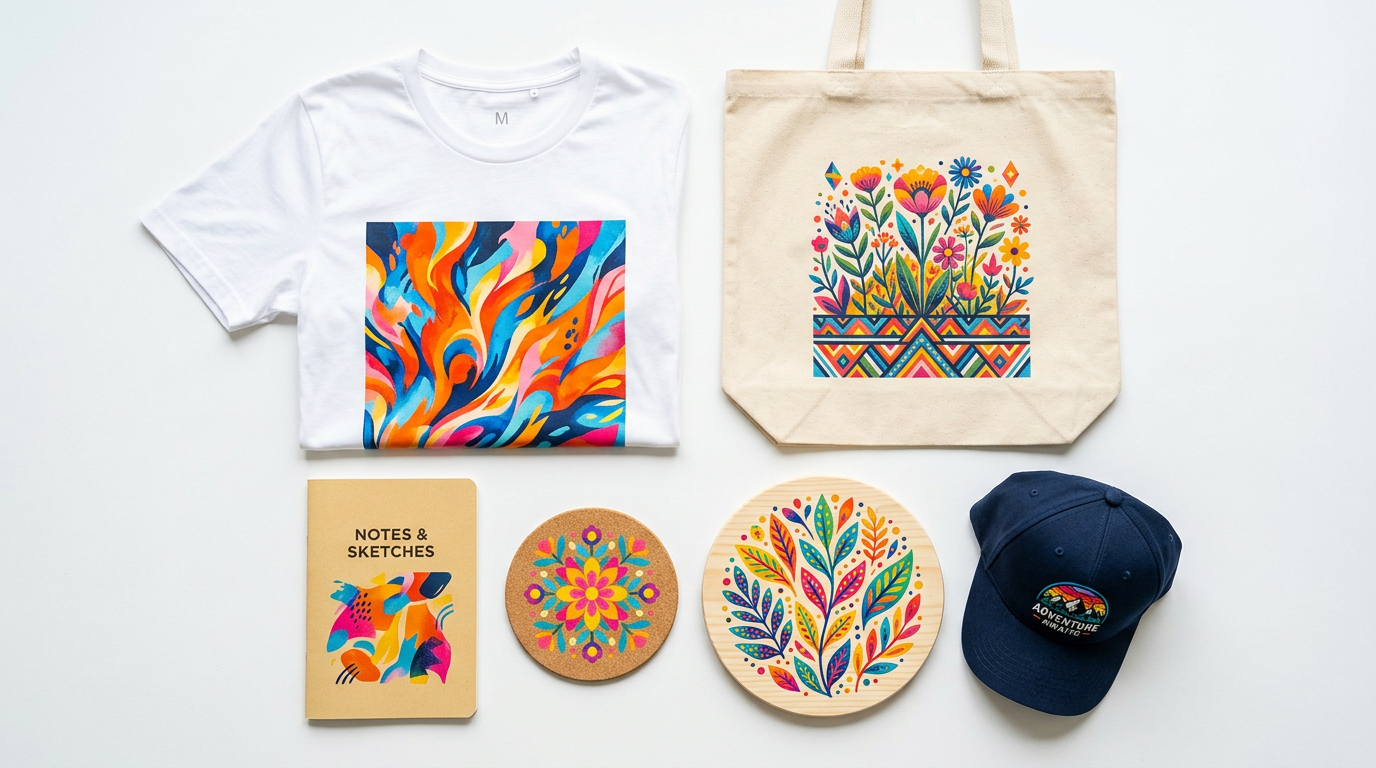
What will you create next?

Estampasso retractable banners showing the CREATE, PRESS, PEEL, KEEP process with families creating custom artwork

IT'S FAST! IT'S EASY! IT'S AMAZING!

Create It. Reveal It. Wear It. Share It. Love It.

Estampasso Β· Since 1990 Β· Express Β· Create Β· Transform

Caution: Hot Surface β€” Please watch children around the heat press.